![[jQuery]문법 실습](https://img1.daumcdn.net/thumb/R750x0/?scode=mtistory2&fname=https%3A%2F%2Fblog.kakaocdn.net%2Fdn%2Fwoy54%2FbtrCwty77o3%2F18KXV36lKx7KibnKFZcct1%2Fimg.png)
jQuery 개념 실습

<!DOCTYPE html>
<html lang="en">
<head>
    <meta charset="UTF-8">
    <meta http-equiv="X-UA-Compatible" content="IE=edge">
    <meta name="viewport" content="width=device-width, initial-scale=1.0">
    <title>Document</title>
    <script src="./js/jquery-3.6.0.min.js"></script>
</head>
<body>
    <p>로그인 폼을 작성해봅시다</p>
    <button id="btnP">p태그 다루기</button>
    <div id="div1">
       <h1 class="h">로그인폼</h1>
       ID : <input type="text" name="id"><br>
       PW : <input type="text" name="pw">
    </div>
    <p class="h"></p>
    <button id="btnDiv">div태그 다루기</button>
    <button id="btnH">h태그 다루기</button>
    <button id="addAttr">id input 속성 추가</button>
    <button id="getId_Pw">input태그 다루기</button>
    <button id="removeAttr">속성지우기</button>
    <button id="removeP">p태그 지우기</button>

    <script>
         // 1. 'p태그 다루기'라는 버튼 클릭 시, p태그 안에 내용 'p태그 클릭!'으로 변경
         $('#btnP').click(function(){
             $('p').text('p태그 클릭!')
         })
         // 2. 'div태그 다루기'라는 버튼 클릭 시, id가 div1인 태그의 배경 색상을 pink 색으로 변경
         $('#btnDiv').click(function(){
             $('#div1').css('background-color','pink')
         })
            // 3. 'h태그 다루기'라는 버튼 클릭 시, 버튼 안의 글자 '바꾸기!'로 변경
         $('#btnH').click(function(){
             $(this).html('바꾸기!')
         })
            //4. 'id input 속성 추가'라는 버튼 클릭 시, input 창 placeholder 'ID작성'으로 변경!
         $('#addAttr').click(function(){
            //jQuery에서 속성에 접근&추가해주기 위한 키워드 :attr
            $('input[name=id]').attr('placeholder','ID작성')
         })
            //5. 'input태그 다루기'라는 버튼 클릭 시, 사용자가 입력한 ID, PW 값을 alert창으로 띄워주기!
            // js input 태그 값을 가져올 때 .value -> .val
         $('#getId_Pw').click(function(){
            let id = $('input[name=id').val()
            let pw = $('input[name=pw]').val()
            alert(id+pw)
         })
            //6. 4번에서 추가한 placeholder속성 삭제
         $('#removeAttr').click(function(){
             $('input[name=id]').removeAttr('placeholder')
         })
            //7. remove라는 버튼 클릭 시 , p태그 삭제
         $('#removeP').click(function(){
             $('p').remove()
         })

    </script>
</body>
</html>
jQuery 실습2
<!DOCTYPE html>
<html lang="en">
<head>
<meta charset="UTF-8">
<meta http-equiv="X-UA-Compatible" content="IE=edge">
<meta name="viewport" content="width=device-width, initial-scale=1.0">
<title>Document</title>
<script src="./js/jquery-3.6.0.min.js"></script>
<style>
div>img {
width: 200px;
height: 200px;
}
.c1 {
border: 3px solid chartreuse;
}
</style>
</head>
<body>
<div>
<!-- 1-->
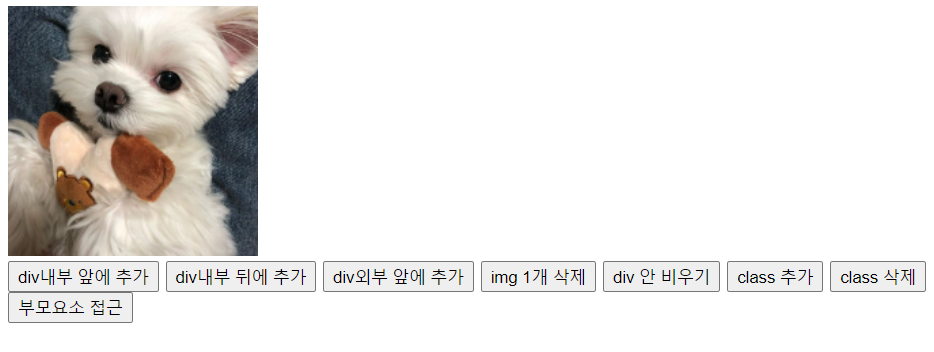
<img src="https://i.pinimg.com/736x/d1/d1/44/d1d144b365c3a570af83005eb172b6bb.jpg" id="img1">
</div>
<button id="btn1">div내부 앞에 추가</button>
<button id="btn2">div내부 뒤에 추가</button>
<button id="btn3">div외부 앞에 추가</button>
<button id="btn4">img 1개 삭제</button>
<button id="btn5">div 안 비우기</button>
<button id="btn6">class 추가</button>
<button id="btn7">class 삭제</button>
<button id="btn8">부모요소 접근</button>
<script>
$('#btn1').click(function(){
//prepend : 해당 요소 내부 추가
$('div').prepend('<h1>prepend</h1>')
})
$('#btn2').click(function(){
//append : 해당 요소 내부 뒤쪽에 추가
$('div').append('<h1>append</h1>')
})
$('#btn3').click(function(){
//before : 해당 요소 외부 앞쪽에 추가
$('div').before('<button id = "newBtn">div 외부 뒤쪽 추가하기</button>')
})
//.click vs.on("click")
//동적 이벤트 바인딩
//.click : 최초에 페이지를 로딩할때 선언되어있던 요소에 이벤트
//.on : 동적으로 추가 된 태그에 이벤트
$(document).on('click','#newBtn',function(){
//after : 해당 요소 외부 뒤쪽 추가
$('div').after('<h1>after</h1>')
})
$('#btn4').click(function(){
// remove : 요소 삭제
$('#img1').remove()
})
$('#btn5').click(function(){
// empty : 요소 전체 비우기
$('div').empty()
})
//이미지 클래스 추가
$('#btn6').click(function(){
$('img1').addClass('c1')
})
//이미지 클래스 삭제
$('#btn7').click(function(){
$('img').removeclass()
})
//부모요소접근 : parent()
$('#btn8').click(function(){
$('div>img').parent().css('background-color','pink')
})
</script>
</body>
</html>jQuery 실습3
1.좋아요 클릭시, 좋아요 수가 1로 늘어나고 버튼은 좋아요 취소라 바뀜
2.좋아요 취소 클릭시, 좋아요 수가 0으로 줄고 버튼은 다시 좋아요로 바뀜
3.댓글 작성 시, 목록의 맨 위에 댓글이 추가
4.삭제 버튼시, 그 댓글만! 삭제

<!DOCTYPE html>
<html lang="en">
<head>
    <meta charset="UTF-8">
    <meta http-equiv="X-UA-Compatible" content="IE=edge">
    <meta name="viewport" content="width=device-width, initial-scale=1.0">
    <title>Document</title>
    <script src="./js/jquery-3.6.0.min.js"></script>
</head>
<body>
    <button id='like'>좋아요</button><span>0</span>
    <br>
    <input type="text"><button class='writeCom'>댓글작성</button>
    <br>
    <div id="com">
        <p>첫댓글<button class='removeCom'>삭제</button></p>
    </div>
    <script>


        // 1. 좋아요 클릭 시, 좋아요 수가 1로 늘어나고
        // 버튼은 좋아요 취소로 바뀜
        $(document).on('click','#like',function(){
            $(this).text('좋아요 취소')
            $('#like+span').text(1)
            $(this).removeAttr('id','like')
            $(this).attr('id','dislike')
        })
        // 2. 좋아요 취소 클릭 시, 좋아요 수가 0으로 줄고
        // 버튼은 다시 좋아요로 바뀜
        $(document).on('click','#dislike',function(){
            $(this).text('좋아요')
            $('#dislike+span').text(0)
            $(this).removeAttr('id','dislike')
            $(this).attr('id','like')
        })
        // 3. 댓글 작성 시, 목록의 맨 위에 댓글이 추가
         $('.writeCom').click(function(){
            let val = $('input[type=text]').val()
            $('#com').prepend('<p>'+val+'<button class = "removeCom">삭제</button>'+'</p>')

         })
        // 4. 삭제 버튼시, 그 댓글만! 삭제
         $(document).on('click','.removeCom',function(){
             $(this).parent().remove()
         })

    </script>
</body>
</html>